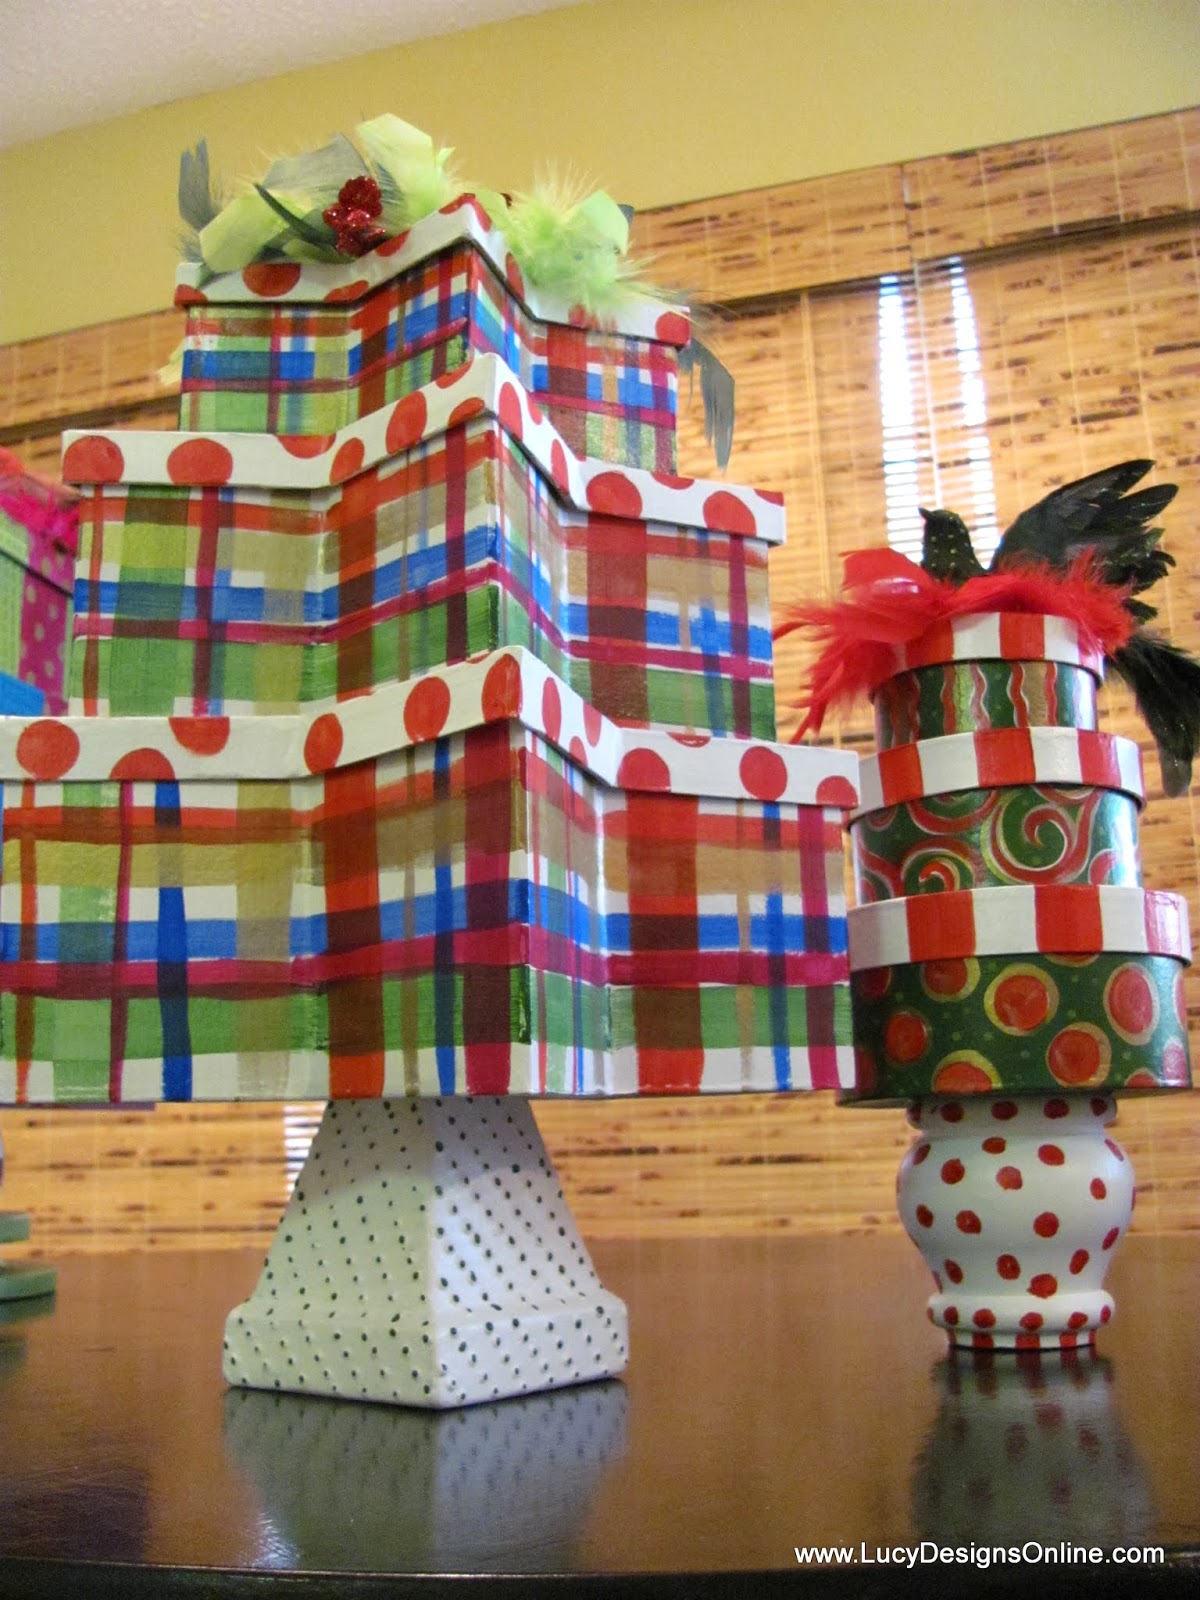
This is a little project I designed that I'm calling Gift Box Topiaries
You can use them as a gift, put little cookies or candies in each box,
or just use as decoration year after year.
Each box is attached to the lid of the box below it so they come apart
for you to fill with your gifts or candy.
Here's a rundown of the process...
I ordered bulk paper mache' boxes in sets of three,
ranging from 4" to 12"
I also ordered several colors of large feathered craft birds.
I primed and painted the boxes with base coats.
I used spray paint for this and also spray painted the insides for a finished look
For the bases, I gathered wooden pieces and parts and played around
with them until I had bases for all of the topiaries.
Here are most of the bases all primed with spray primer and ready for paint
Here are a couple of the lids as I was painting..
After these were painted, I glazed them to give them an
antiqued look to match the sheet music that was used with these lids.
antiqued look to match the sheet music that was used with these lids.

I love the diamond or harlequin pattern. I rarely predraw my diamond
pattern but usually just freehand and this is how I do it...
It's basically just a connect the dots type of technique.
To start, I tap on tiny dots of paint with the end of the paint brush.
One for the top and one dot for the bottom.
Then I decide how wide I want it to be and put those two dots.
Once you have your first diamond "dotted" out, then it's really easy
to make alternating dots.... eyeballing the spacing for the rest of the diamonds.
Then you connect the dots and fill in with paint.
To me this is much faster than measuring and drawing out.
I personally like a more painterly look so it doesn't bother me if they aren't precise.
I think when you look at it overall, they always look spaced pretty evenly.
To embellish the tops of boxes I used the craft birds, decorative craft picks
and feathers. Some of the feathers came from feather boas and others I pulled from a
feather duster I found at the dollar store.
I gussied up all of the artificial birds with glitter glue that I brushed
or dotted on to give them a little extra sparkle.
On this set of boxes, I decoupaged with vintage sheet music.
I did not even notice this was the song until the Mod Podge
was on and I was about to apply it to the box...Happy accident :)
For this set I used more sheet music but just for the lids
on the hand painted boxes.
The plaid one on the left is a star shape and it's base is an upside down planter.
More bright, fun ones with "painted" ribbons as if the boxes were wrapped.
The small one on the left has a wood candlestick as the base.
The large square on the right has a wooden bowl and a wooden plate piece for the base
I used one of those rubber paint design tools to drag
through the wet paint to create these patterns.
Another star shaped version.
For this one I used a stamp and added little dots along with the stamped design.
I didn't use ink but dabbed paint onto the stamp and applied.
It gave it a very uneven image which I liked and I followed suit by painting the
rest of the box with a distressed gold finish.
Thanks so much for reading about my Gift Box Topiaries.
I've moved to my new website Lucydesignsart.com focusing
exclusively on my mosaic art.


Love these!!! Great job-- :0)
ReplyDeleteBeautiful and fun!
ReplyDeletethanks for your cool comment on my MacKenzie Childs chair and tuffet. I have much more of that kind of stuff so stay close. I love your box display and you have given me inspiration to do a set of these. Love your style. Terry
ReplyDeleteOh wow! These are fabulous!!! This was so on my to do list for this year and I am so bummed that I never got around to making any. Yours are some of the best I've seen.
ReplyDeleteI realize it is well after Christmas, but I just found your blog and am so glad I did. You are amazing and just looking through your site has inspired me to get off my tush and start creating. I love the gift box topiaries and plan on creating my own version for valentines day...just don't hold me to that! Perhaps Easter. Thank you for the inspiration! Daniela
ReplyDeleteAll the details make it and adding bases is so smart! What a great idea.
ReplyDeleteThese are so adorable! I too am in love with the little bases! I featured this post today over at Scribbles and Swirls and am your newest follower. Hope you will follow me as well!
ReplyDeletehttp://tamiscribblesandswirls.blogspot.com/2011/11/gift-box-topiaries.html
Thanks for the inspiration!
~Tami